Product Description
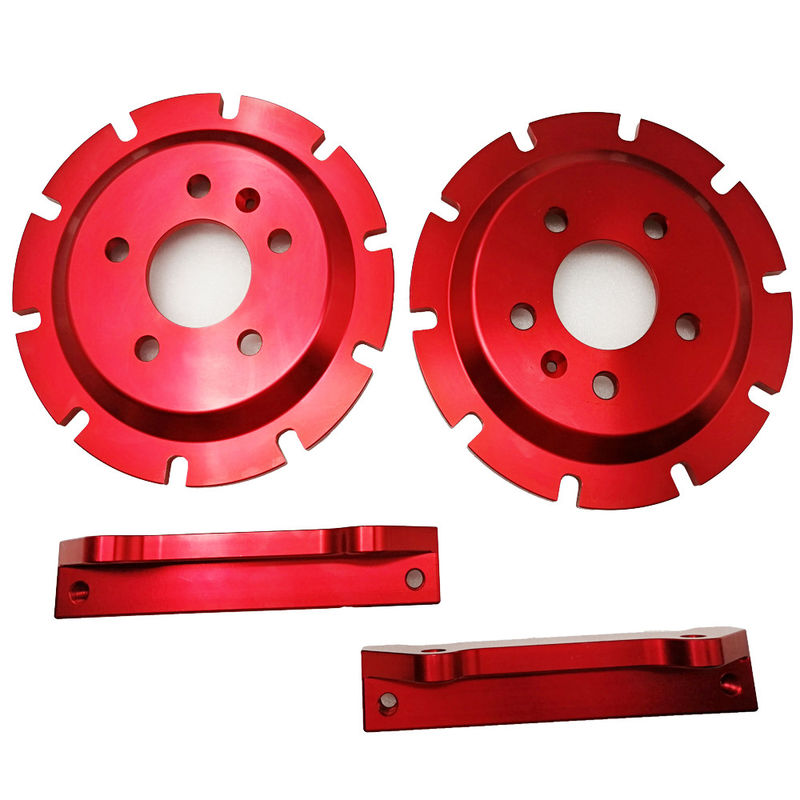
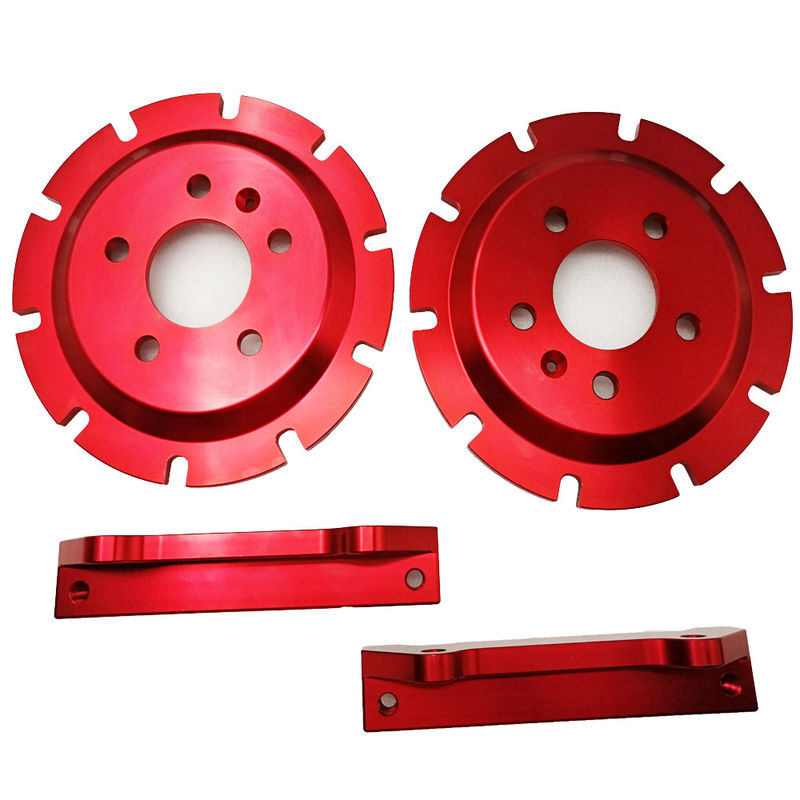
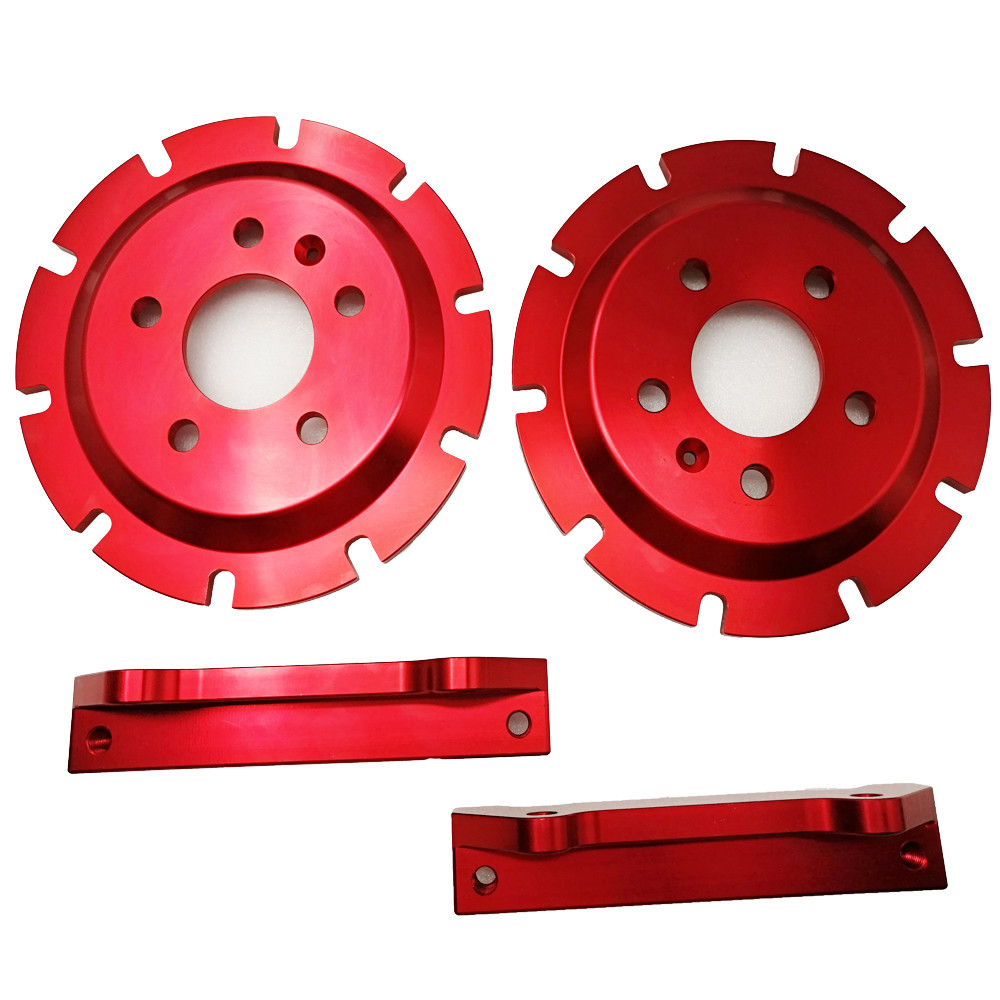
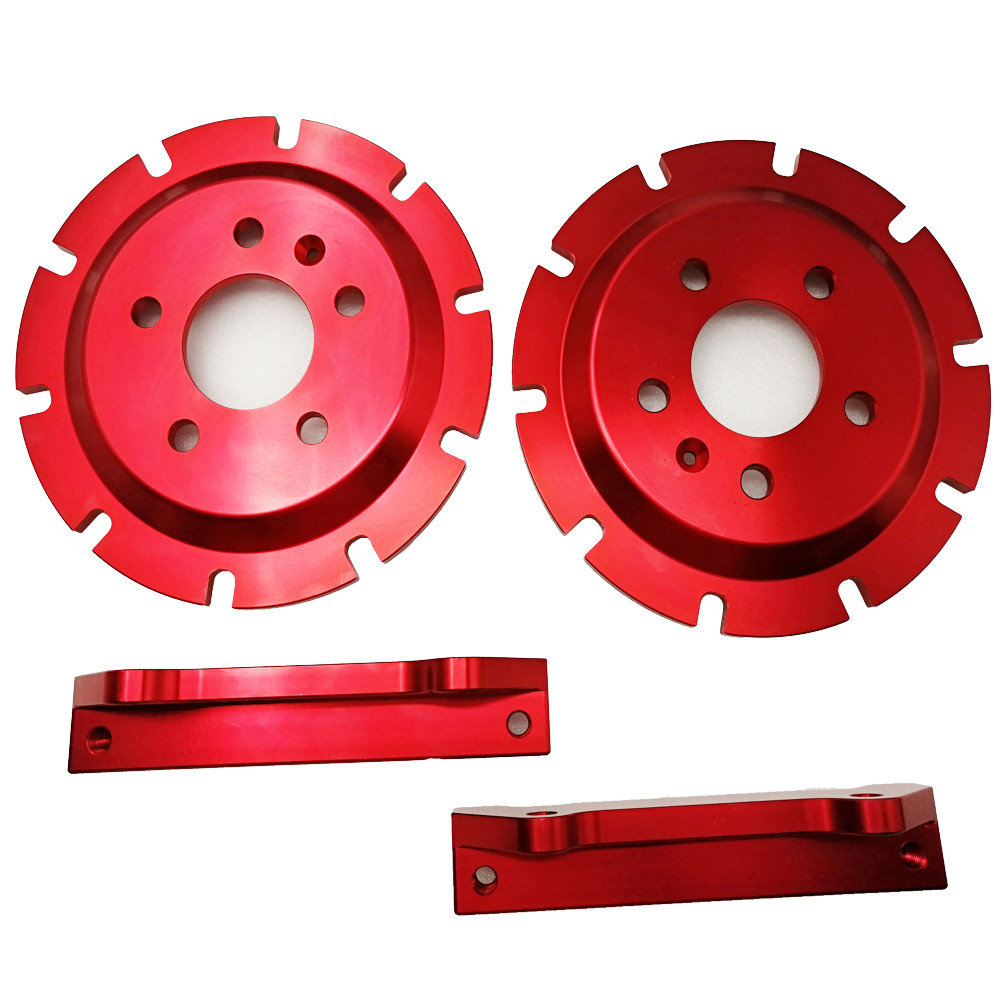
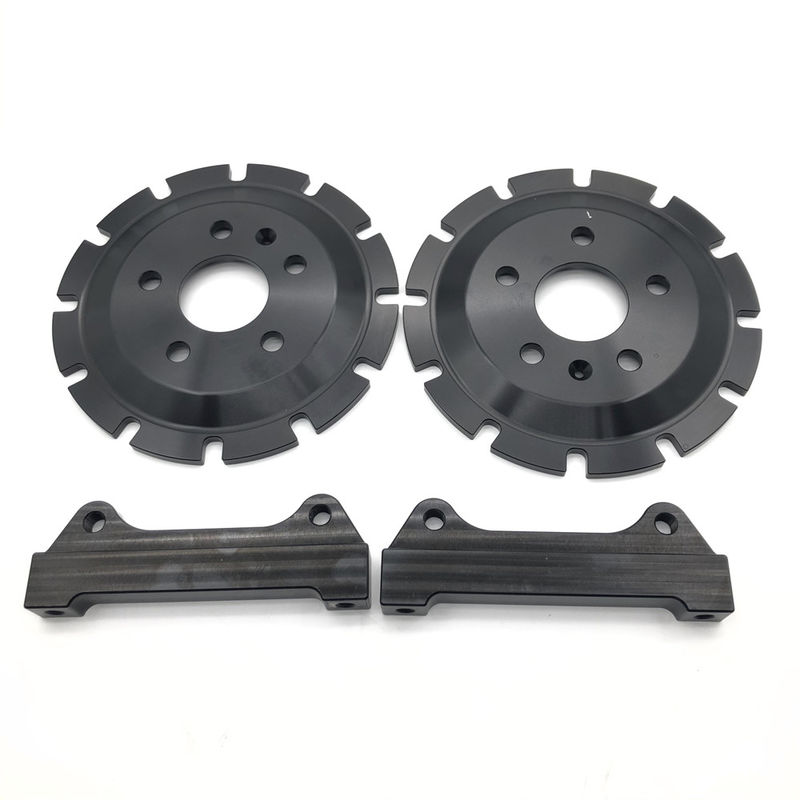
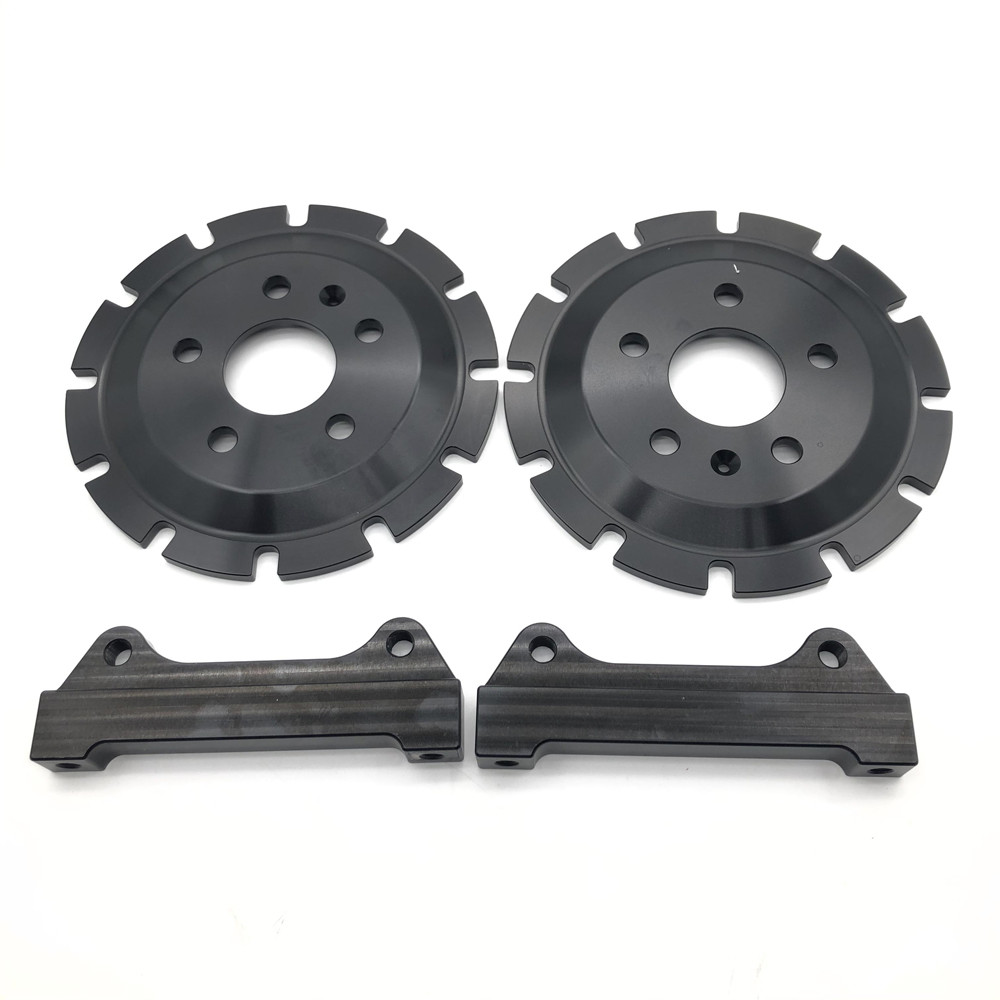
Refitting floating center hat caliper bracket automobile front
Center hat
Jekit has four different designs.
1. Pattern: unique nest fan diversion design, reducing weight by 35% and increasing heat dissipation area by 30%.
2. Original: round design, light weight.
3. With drum joint: generally applicable to the rear wheel of automobile.
4. Floating style, floating design, lighter weight, 50% increase in heat dissipation area, effectively improve heat dissipation effect and reduce jitter.
Bracket:
Material: Aerial 6061 / 7075 Aluminum Alloy / # 45
Craft: By Forging
Brake hose:
Material: Inside special rubber; Outside wrapped with steel cover knitted by steel wires
Process: the ultimate lightweight design reduces the weight by 65% and increases the heat dissipation area by 40%
Unique design:Steel braces are added in the threaded holes of the caliper holder to avoid damage to the threads in the bridge code during repeated disassembly and assembly of the caliper support bolts.
Product introduction
| Item Name |
center hat and bracket |
Color |
Gold, Silver, Black, Blue |
| Material |
aluminium alloy |
Certificate |
ISO9001 |
| Position |
Front/Rear |
Quality |
100% Tested |
| Car Make |
Auto car |
Place of Origin |
Guangdong, China (Mainland) |
Introduction to retrofitting centre cap and caliper support
The center cap and caliper bracket are the components connecting the modified caliper to the vehicle. Each set of center cap and caliper bracket is customized according to the model, caliper model and disc data. Therefore, if you want the whole set of brakes to be perfectly installed in the wheel, the data requirements for the center cap and caliper support need to be very accurate.
Material classification
Jekit's center cap and caliper support are mainly made of the following materials: aluminum alloy 6061-T6, aluminum alloy t-7075 and 45 steel.
Aluminum alloy has the characteristics of high strength, light weight and good heat dissipation. For the braking system, aluminum alloy has great advantages, so aluminum alloy is used in most cases.
6061-T6: aluminum alloy element accounts for 97.9%, magnesium element accounts for 1%, silicon element accounts for 0.6%, and 0.28% copper and 0.2% chromium are added.
T-7075: the main aluminum and zinc metal elements account for 90% and 5.6% respectively, while magnesium accounts for 2.5%, copper accounts for 1.6%, chromium accounts for 0.23%, and finally the rest are silicon, manganese, titanium and other metal elements.
Generally speaking, the strength of 7075 aluminum alloy is higher than that of 6061 aluminum alloy, which is mainly because the content of aluminum alloy in 7075 aluminum alloy is nearly 8% less than that in 6061.
45 steel is generally applied to supports with limited data. (for example, there are few threads and the length is short. The whole strength needs to be guaranteed, which can not be achieved by aluminum alloy)
The machining process of center cap and caliper holder adopts CNC integrated CNC lathe. Accurate data, clear and complete process texture!
Anodic oxidation
Anodic oxidation has protective, decorative and insulating properties, which can improve the adhesion with organic coatings and inorganic coatings. The metal oxide film changes the surface state and properties, such as surface coloring, improves corrosion resistance, enhances wear resistance and hardness, and protects the metal surface.
Why refit car brakes
1. Poor braking performance of the original car
Because the original vehicle has long braking distance, heavy braking, unsatisfactory effect and service life, unstable braking and unable to brake the vehicle, the safety of continuous braking is reduced, and the original vehicle has large abnormal noise and poor heat dissipation.
2. Weakness of original brake
The biggest weakness of the original brake is that the braking force is too short from the initial state to the limit, which is called "very non-linear" in the language commonly used to describe the power. As the saying goes, stepping on the brake lightly is not enough, and stepping on the brake heavily is too much.
For most of the original brakes, after you press the brake pedal to the bottom with one foot, the braking force generated by the brake system itself often far exceeds the friction limit of the tire. Therefore, the original brake can easily let the ABS system intervene in the work: when you brake to the bottom with one foot, you will always hear all kinds of "cluck cluck" noises of the ABS master cylinder, The brake pedal continuously feeds back the rebound strength, and the ABS system continuously performs the repeated action of "brake release brake release" on the brake caliper of each tire.
How to install the brake Kit
Step 1: clean the bearing. After removing the original brake system, clean the bearing part with a steel brush, remove the rust on it, and measure whether the bearing plane is deformed to ensure that the upgraded brake disc fits closely on the bearing.
Step 2: apply sound insulation adhesive to the bearing. Thin application of sound insulation glue on the bearing plane of the original factory can not only prevent the bearing from rusting, but also make the contact between the bearing and the brake disc closer.
Step 3: fix the brake disc. Place the brake disc on the bearing, but note that the screws in this part don't have to be tightened in a hurry. At this step, just fix it.
Step 4: install the axle code and caliper. After the brake disc is fixed, fix the bridge code on the sheep horn, and then fix the caliper on the bridge code to ensure the correct installation position of the bridge code, the correct installation direction of the bridge code and the correct installation direction of the caliper. This step is the same. There is no need to tighten the screws in a hurry, just fix them in a fixed position.
Step 5: accurate measurement of caliper position. In fact, this step is often the most easily overlooked, but it is also the most important step in the whole installation process. In the future use of many modified calipers, the uneven strength of left and right calipers, inconsistent wear of brake pads, and even brake jitter are related to this step. This step is to use an accurate vernier caliper to measure whether the caliper and the brake disc are accurately symmetrical up, down, left and right. On the premise of ensuring accuracy, the force pushed out by the piston can be evenly dispersed on the back of the brake pad, completely avoiding the problem of uneven left and right force, resulting in the failure of the caliper to work completely.
Step 6: tighten the screws correctly. After confirming the position of the caliper, the fixed screws need to be coated with screw glue. According to the requirements of the caliper manufacturer, use the correct torque wrench to fix the caliper screws. This is very important. Do not use an air cannon.
Step 7: install the brake pad + fixed pressing plate. The brake pads of different calipers are installed in different ways, so this step can also be advanced before the calipers are fixed. The more important thing here is to apply sound insulation glue, which can not only make the brake pads work more smoothly, but also reduce the probability of abnormal noise of the brake pads as far as possible. After installing the brake pad, the spring pressing plate at the top shall also be installed.
Step 8: installation of steel throat oil pipe. For refitting brakes, the importance of steel throat need not be said. It should be noted here that the steel throat with appropriate length shall be selected according to different models, and the steel throat with correct interface shall be matched according to the model of caliper.
Step 9: exhaust air from brake oil. This part is very important for the braking system. If the braking system contains air, it will lead to insufficient braking force at light level and loss of braking by directly depressing the pedal at heavy level. Here, I personally suggest using the special equipment for brake oil replacement to directly replace all brake oil. If the brake oil is very new, use the brake oil of the same brand and model to drain the pedal and replenish the oil.
Step 10: check oil leakage + confirm interference. After the air exhaust operation of brake oil, after a simple test run, stand for 30 minutes, and check whether there is oil leakage at the interface of brake oil pipe again. Once it is found, it must be handled immediately and the air exhaust operation must be carried out again. In addition, after lifting the car, turn the wheels left and right respectively, and observe whether there is any movement interference between brake calipers, bridge codes, screws, oil pipes and other parts, so as to ensure that there is no friction between these key parts and any parts of the body, and the oil pipes are not pulled. Only in this way can we ensure driving safety in the future.
RFQ
If you need a complete modified caliper kit,Please contact customer service
Please provide:
1. What Car? What year?
2. Wheel hub size? For example, 18-inch 19-inch
3. Modified wheel hub or original wheel hub?
4.Can you give me the Chassis number or frame number(VIN number)?
5. If you need the center cap and bracket, we would like you to provide the diameter, thickness, friction surface data of the brake disc, as well as a picture of the caliper. Thank you
The above information is used for accurate recommendation of products and accurate quotation
 Your message must be between 20-3,000 characters!
 Please check your E-mail!
  Your message must be between 20-3,000 characters!
 Please check your E-mail!
